PTZ Camera for Live Streaming: What’s New in Educational and Corporate

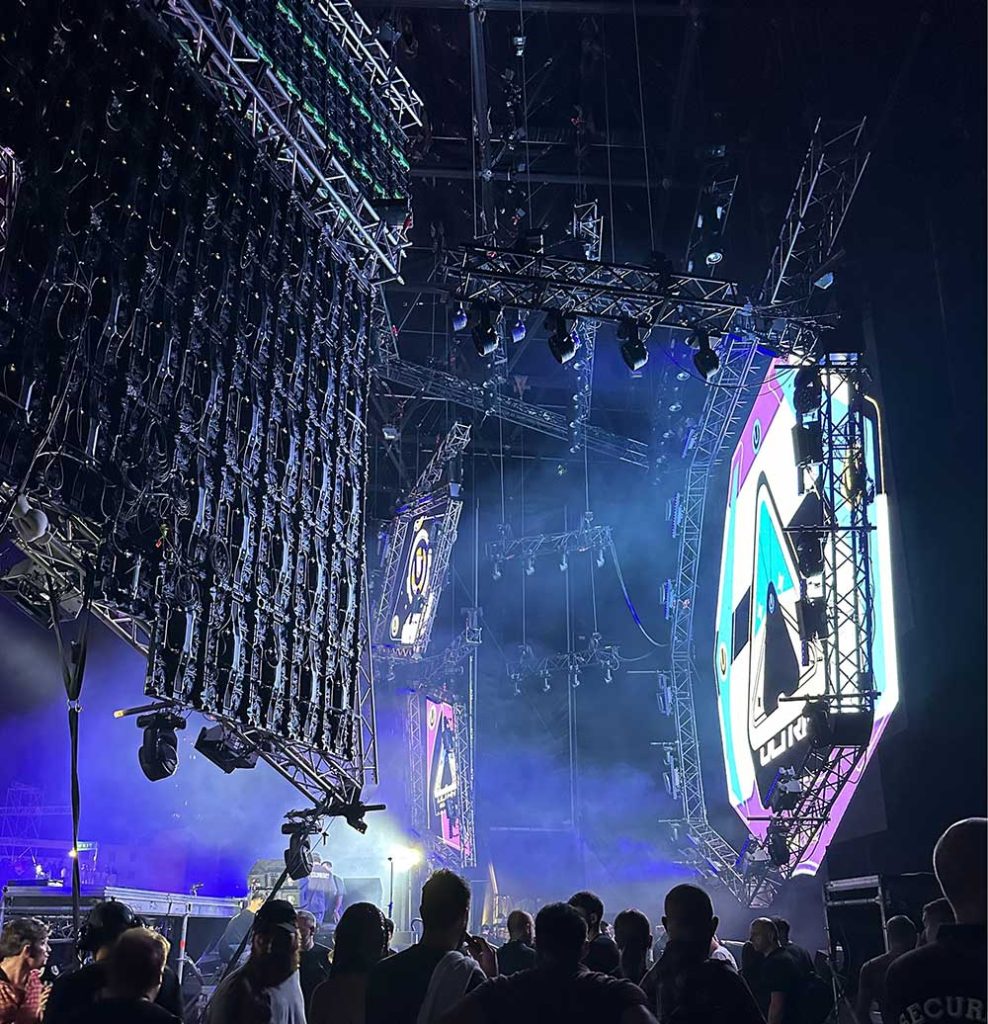
The Sphere Las Vegas: 16k Resolution, Saco Technologies & Anyma

PTZ Camera for Live Streaming: What’s New in Educational and Corporate

The Sphere Las Vegas: 16k Resolution, Saco Technologies & Anyma
How to Build a Lighting Truss? Stage Lighting, DJ Truss & More
Introduction to Lighting Truss
Building a lighting truss is essential for many events, providing structure for lighting, sound equipment, and more. This guide will cover the components, steps to assemble a truss, mounting techniques, optimal light placement, DJ-specific trusses, and essential safety considerations.
Components of a Lighting Truss
Truss Base Plates and Reverse Head
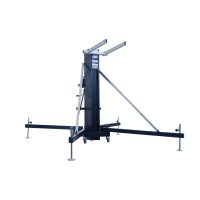
The truss base plates and reverse head are the foundation of the truss structure. Bases should be placed on stable ground and adjusted for level. Use precise tools to ensure accuracy, as an uneven base can compromise the entire structure's stability. For example, using a bubble level can help you achieve the necessary precision.
Inclined Support and Square Sleeve
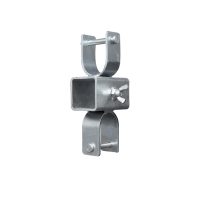
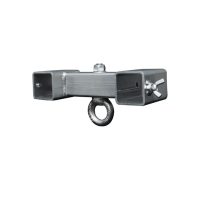
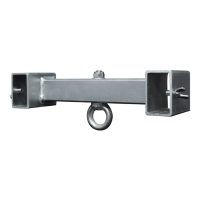
Inclined supports provide additional stability and prevent lateral movement. Square sleeves connect the truss sections and allow for height adjustments. When installing, ensure all connections are tight and secure to prevent any wobble or instability. For instance, using high-quality locking pins can enhance the stability of these connections.
Cross Arm, Hoist, and Sling
Cross arms connect truss sections horizontally, while hoists and slings are used to lift and secure the truss in place. Hoists should have a load capacity that exceeds the total weight of the truss and its attached equipment. For instance, a hoist with a capacity of at least 500 kg can provide sufficient safety margin.
Steps for How to Build a Lighting Truss
1. Placing Bases and Adjusting for Level
Position the bases on stable, level ground. Use leveling tools to adjust the bases, ensuring they are perfectly horizontal. An uneven base can lead to instability and potential collapse. For example, digital inclinometers can offer precise leveling.
2. Attaching Diagonal Supports
Secure the diagonal supports to the bases to enhance stability. Make sure the supports are firmly attached and can handle the weight of the truss and equipment. Bolting the supports can add an extra layer of security.
3. Securing Reverse Heads on Bases
Attach the reverse heads to the bases, ensuring they are tightly fastened. This step is crucial for maintaining the overall stability of the truss. Using torque wrenches can ensure bolts are tightened to the manufacturer's specifications.
4. Installing Square Sleeves and Connecting Beam Sections
Assemble beam sections on the ground for easier handling. Connect the beams to the square sleeves, ensuring all bolts and connections are secure. Utilizing quick-release pins can expedite the assembly process.
5. Connecting and Erecting Column Trusses
Lift and secure column trusses using hoists. Ensure all connections are tight and stable before proceeding. Mechanical hoists or chain blocks can be particularly effective for this purpose.
Mounting a Lighting Truss Securely
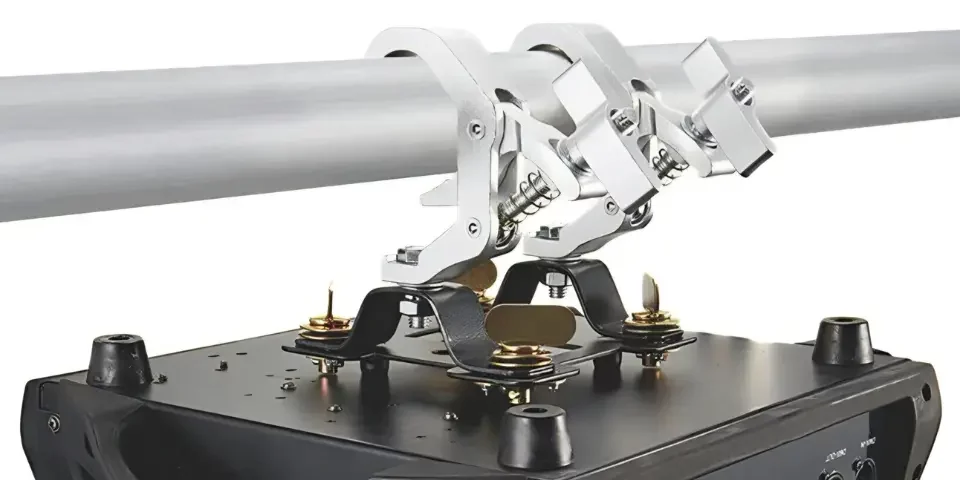
Mounting a lighting truss requires careful attention to safety and stability. Use rigging clamps and base plates to secure the truss. Ensure all components are tightly fastened to prevent movement during use. Regular inspections are essential to ensure the integrity of the mounting. For example, using load-rated shackles and clamps can significantly enhance safety.
Optimal Light Placement on Truss
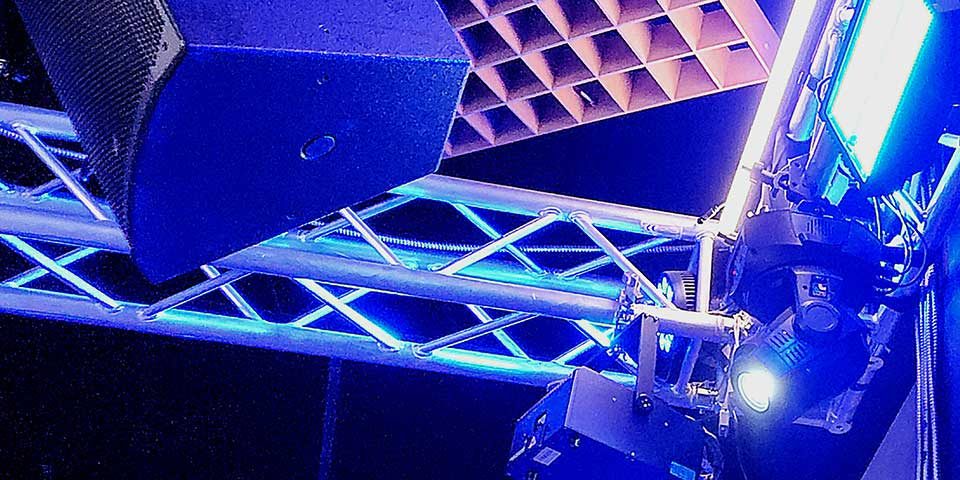
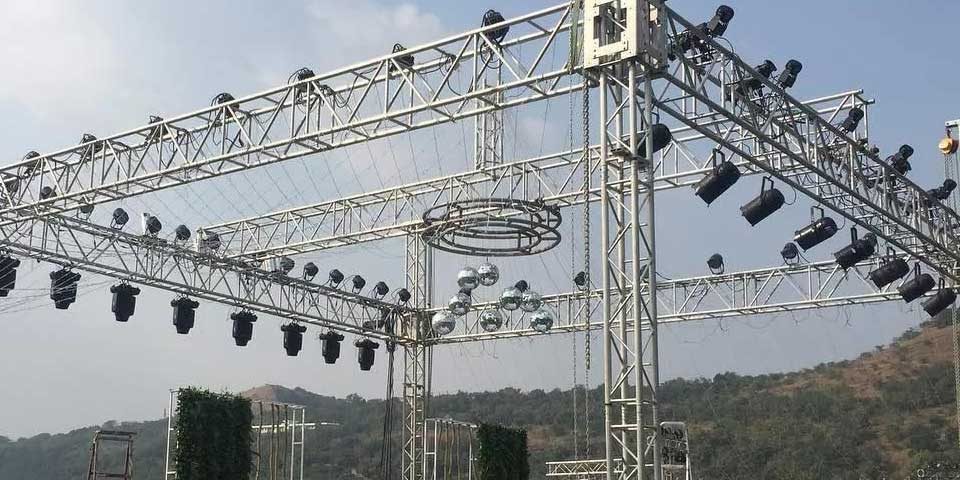
Proper light placement on a truss is crucial for achieving the desired lighting effect. Evenly distribute lights across the truss to avoid hotspots and shadows. Follow manufacturer guidelines for spacing to ensure optimal coverage and minimize glare. For instance, placing lights at intervals of 2-3 feet can help achieve even illumination.
DJ Lighting Truss
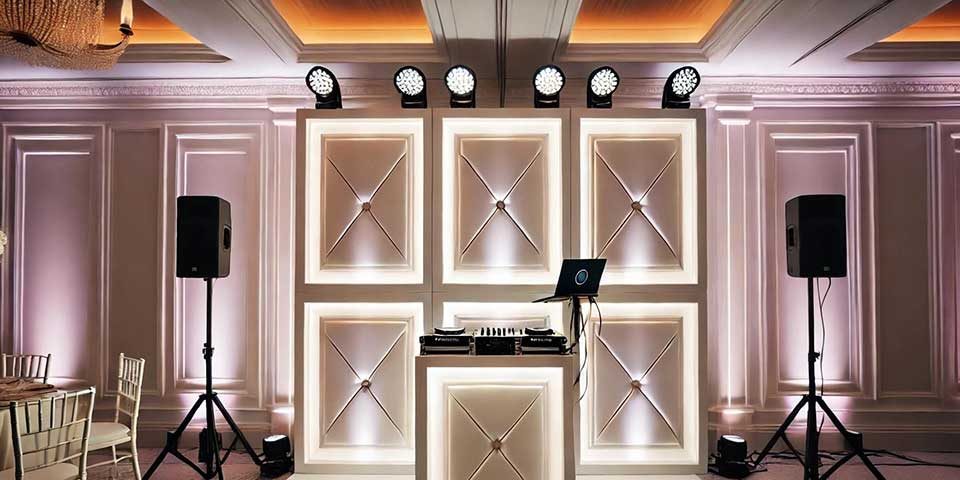
DJ lighting trusses are designed for portability and quick assembly. They are lightweight, easy to transport, and ideal for creating visually striking setups. These trusses often come with pre-configured designs that make setup and breakdown quick and efficient. For example, pre-configured triangle trusses can simplify assembly for mobile DJs.
Safety Considerations
Safety is paramount when building and using a lighting truss. Regularly inspect the truss for any signs of wear or damage. Ensure all connections are tight and secure, and never exceed the truss's load capacity. Use proper safety equipment, such as harnesses and helmets, during assembly and disassembly.
Load Capacity and Inspections
Always adhere to the manufacturer's specifications regarding load capacity. Overloading a truss can lead to structural failure and accidents. Regular inspections are essential to ensure the truss remains in good condition and can safely support the required load. For example, using a load cell to measure actual load can prevent overloading.
Connection Methods and Safety Equipment
Use appropriate connection methods, such as bolts and clamps, to secure truss sections. Safety equipment, including harnesses, helmets, and gloves, should be used during assembly and disassembly to prevent injuries. For instance, double-checking each connection with a second technician can enhance safety.
conclusion
Building a lighting truss involves careful planning, precise assembly, and stringent safety measures. From selecting the right components to ensuring secure mounting and optimal light placement, each step is crucial for a successful setup. Following these guidelines will help you create a reliable and efficient truss system for any event.
For high-quality trusses and accessories, visit GTR Direct - Truss & Stages. By investing in quality equipment and adhering to these best practices, you can ensure your lighting truss is safe, stable, and effective, enhancing the overall experience of any event. Whether you're an event production company, a professional DJ, or a venue owner, implementing these practices will help you achieve the best results with your lighting truss setup.

