Powered vs Unpowered Mixer: Which Should You Choose?

Best Subwoofer Placement Guide: Achieve Perfect Bass in Any Room
Powered vs Unpowered Mixer: Which Should You Choose?
Best Subwoofer Placement Guide: Achieve Perfect Bass in Any Room
How to Set Up a Video Wall: A Complete Guide for Different Builds and Control Systems
Introduction
Setting up a video wall can transform any event or space, providing a dynamic and engaging visual experience. Whether you're looking to install a video wall for event production or in a retail environment, it's essential to choose the right setup, hardware, and control systems. In this guide, we’ll explore how to set up a video wall, the key components, and considerations for various build types.
Types of Video Walls for Different Installations
How to Set Up an Indoor LED Video Wall
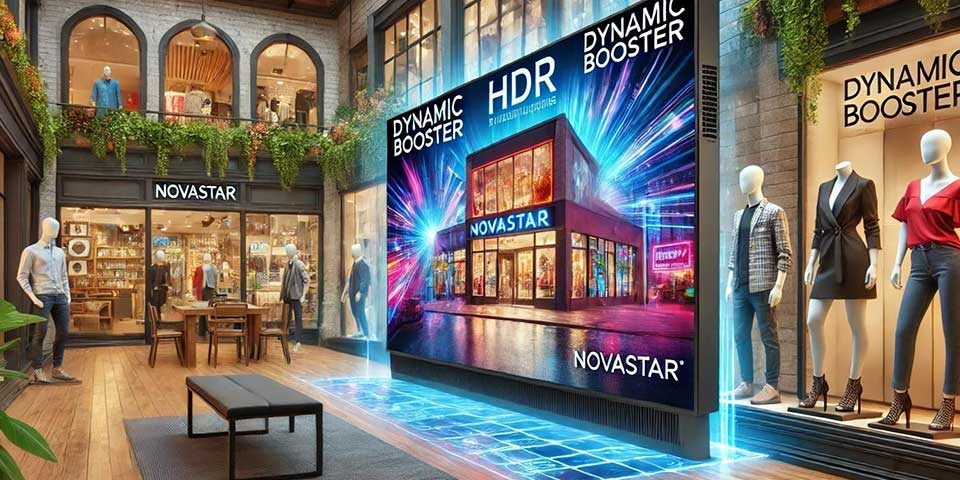
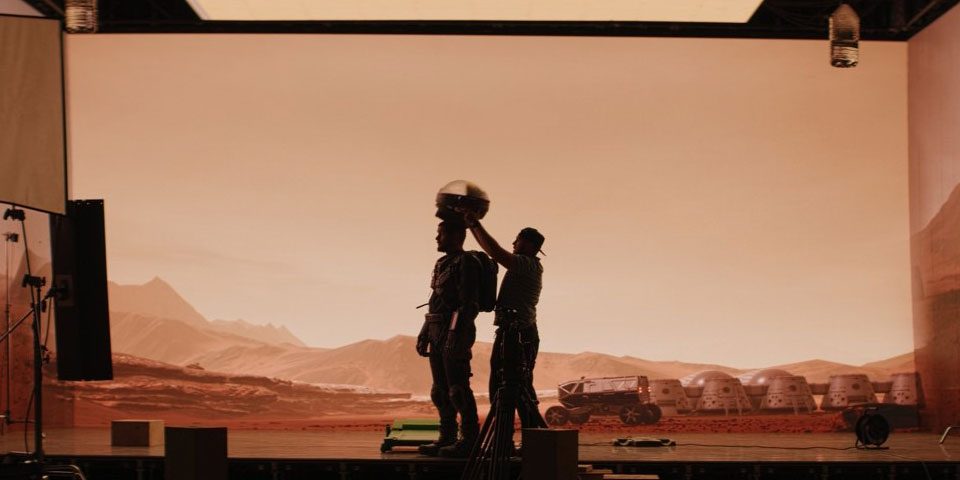
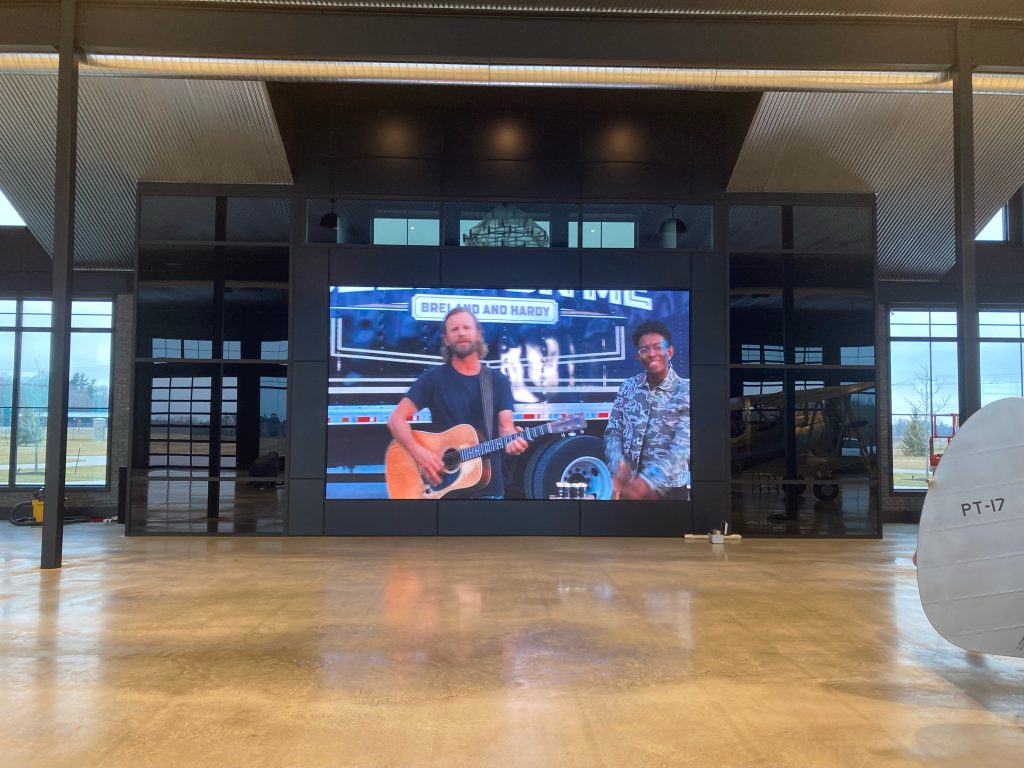
Indoor LED video walls are best for environments where viewers are close to the display. With pixel pitches ranging from 1.5mm to 2.5mm, these video walls offer excellent resolution even at short distances. For example, a 1.9mm pixel pitch is ideal in retail settings where customers stand as close as 3 meters from the screen. Incorporating an indoor LED video wall ensures vibrant, clear visuals that enhance customer engagement.
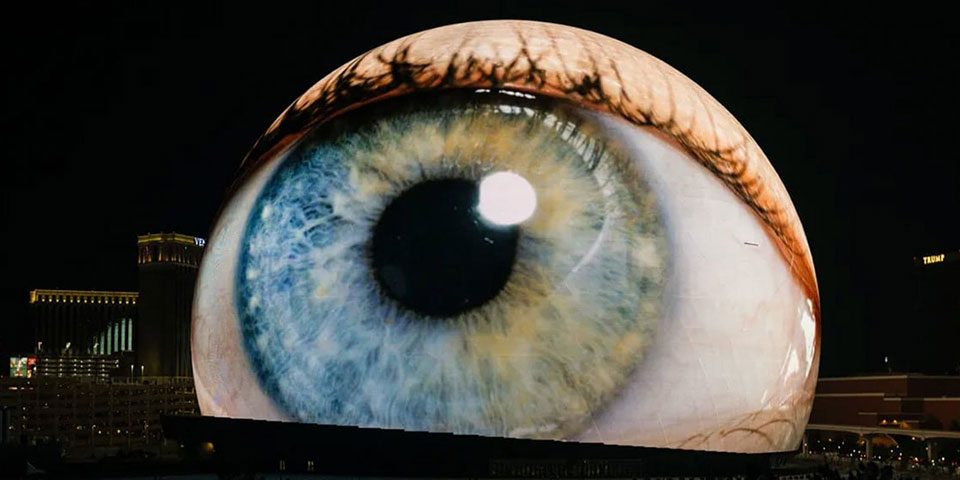
Outdoor LED Video Wall Installation
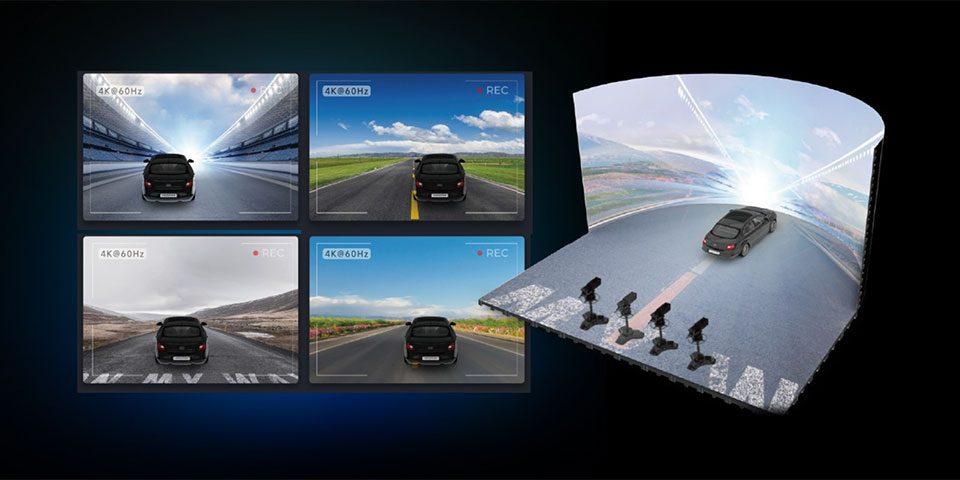
Setting up an outdoor video wall requires panels that handle bright, direct sunlight and harsh weather. With brightness levels reaching 5000 nits and a weatherproof rating of IP65, outdoor video walls maintain visibility and durability. Pixel pitch for outdoor setups typically ranges from 3mm to 10mm to accommodate larger viewing distances. For example, a 5mm pixel pitch is ideal for a 20-meter viewing distance in a stadium. Using outdoor LED video walls ensures high performance, even in challenging environments.
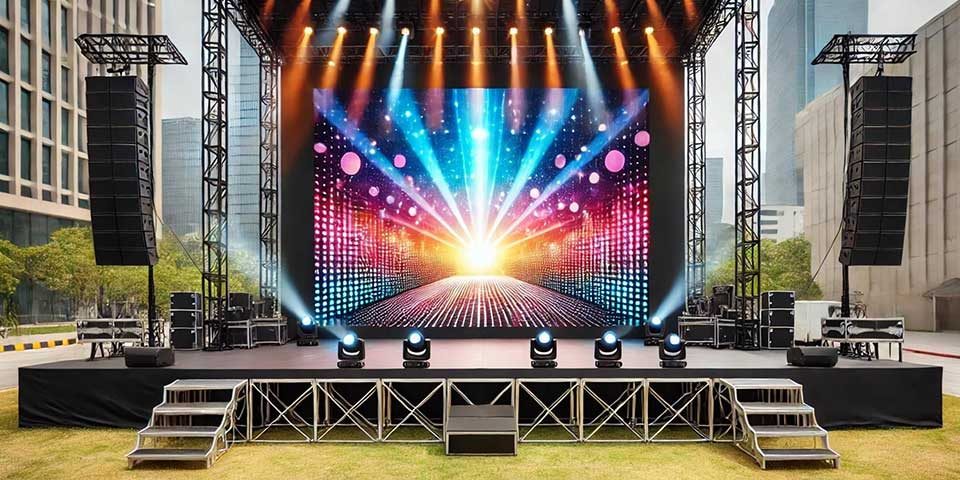
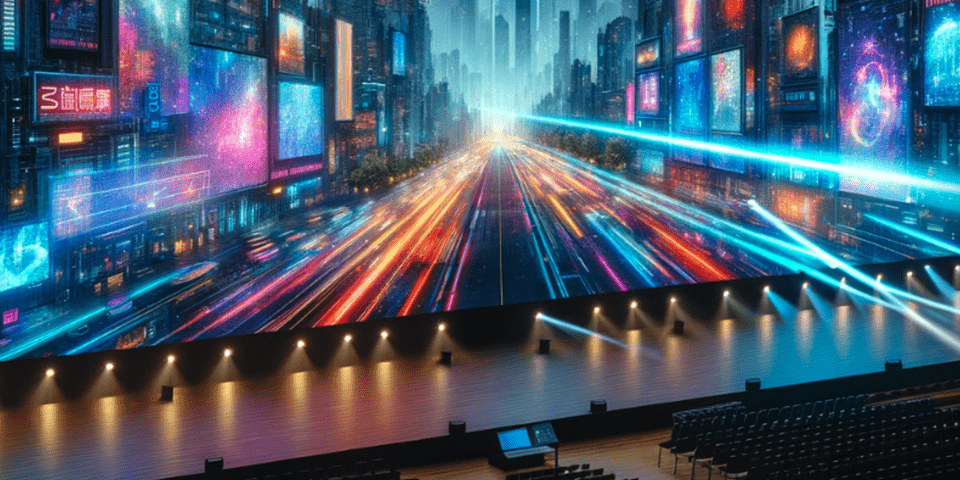
Setting Up a Rental LED Video Wall for Events
Rental LED video walls are perfect for temporary events like concerts or trade shows. These video walls are designed for quick assembly, using lightweight materials such as magnesium alloy. Modular designs, with 500mm x 500mm panels, allow easy setup and teardown. For example, a stage backdrop measuring 6 meters by 4 meters would require 96 panels, which can be assembled within two hours by a small team.
Fixed Installation Video Walls for Permanent Setups
For permanent spaces like control rooms, fixed installation video walls offer long-term reliability. These setups often use a 1.5mm to 3mm pixel pitch, depending on the required clarity. For example, a 3x3 video wall with a 1.5mm pixel pitch ensures that operators can see detailed data from 2-3 meters away. Power consumption for a 5m x 3m wall is typically between 3-4 kW, but this varies based on brightness settings and LED efficiency.
Key Steps for Setting Up a Video Wall
Planning Your Video Wall Installation
When planning how to set up a video wall, the most crucial factors are pixel pitch and viewing distance. A 1.5mm pixel pitch works for close viewing, while a 5mm pixel pitch is better for distant viewers. For example, a 1080p video wall requires roughly 12.96 square meters of display area when using a 2.5mm pixel pitch.
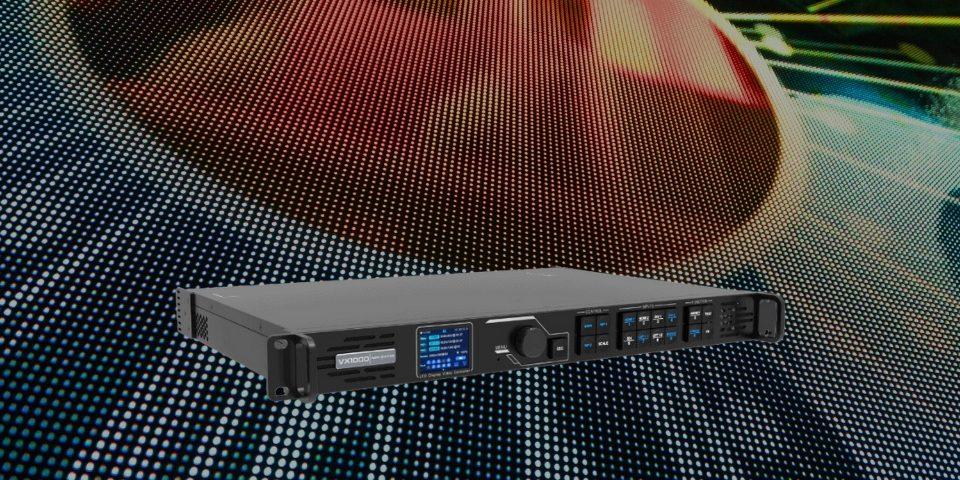
Setting Up Hardware: LED Panels and Video Processors
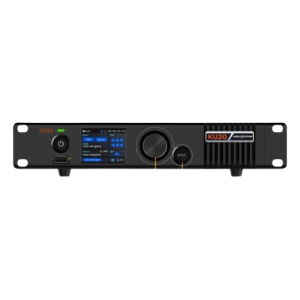
To ensure smooth performance, your setup will need a video processor that handles multiple input sources and resolutions. The Novastar VX600, for example, supports 1920x1200 resolution at 60Hz and can handle inputs such as HDMI, DVI, and DisplayPort. Proper signal synchronization across panels ensures a seamless display.
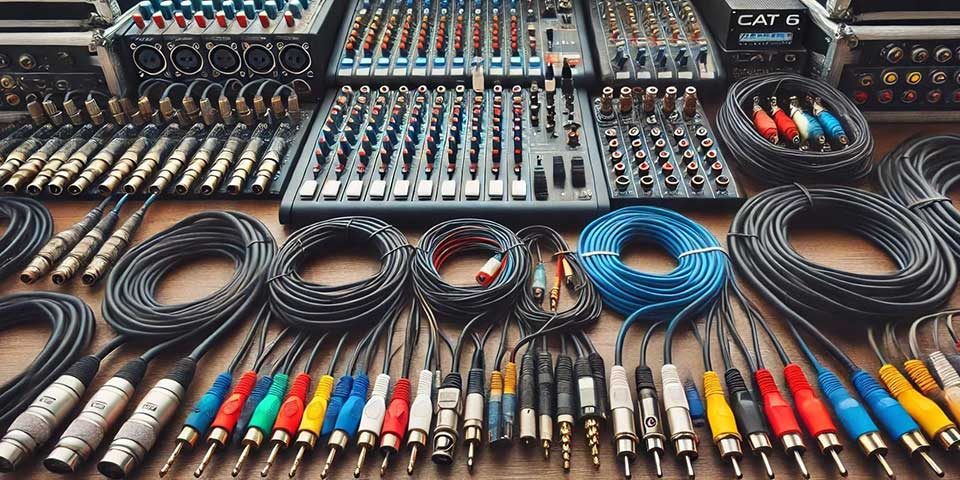
Managing Connections and Signal Processing
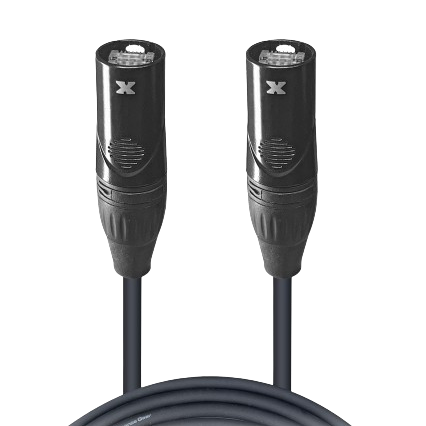
Signal integrity is critical, especially for large installations. Use Ethernet cables (CAT6 or higher) for distances up to 100 meters, but switch to fiber optic cables for longer runs. A fiber converter helps maintain signal quality over long distances, ensuring there’s no degradation in video quality.
How to Build and Mount a Video Wall
There are two common approaches for physically building a video wall: attaching it directly to the wall and using a ground support system. Each method depends on the environment, the size of the installation, and the load-bearing capacity of the structure.
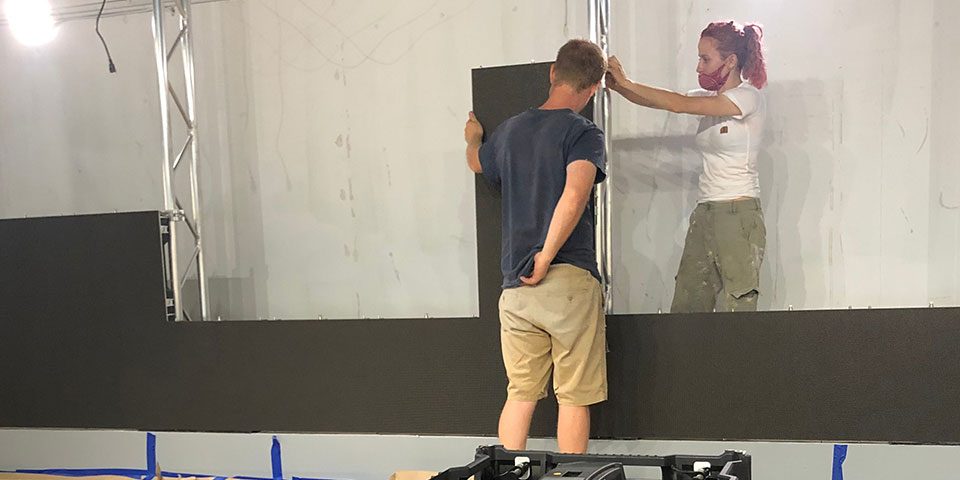
Attaching the Video Wall to the Wall
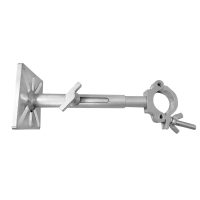
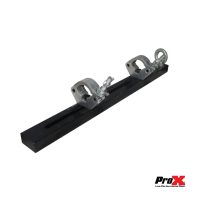
1. Choose the Right Mounting Structure
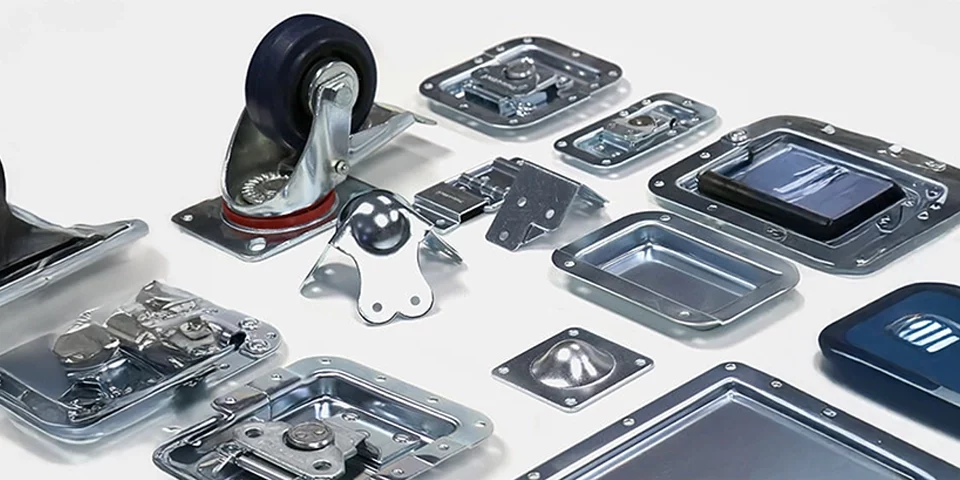
Wall Brackets: The first step in wall-mounting an LED video wall is selecting high-quality wall brackets. Ensure the brackets are rated to support the weight of the video panels. Each panel typically weighs 20-30 kg per square meter, so calculate the total weight of the installation.
VESA Mounting Standard: Most LED panels follow the VESA (Video Electronics Standards Association) mounting standard, which simplifies the installation. Use a compatible mount that fits the VESA pattern of the panels.
2. Prepare the Wall for Installation
Wall Stability: Ensure the wall can support the weight of the video wall. For larger installations, reinforced structures such as concrete or steel-backed walls are ideal. Drywall or weaker materials may need additional reinforcement, such as a metal stud frame.
Drill Mounting Holes: Mark and drill the mounting holes based on the bracket’s layout. Use a level to ensure the brackets are perfectly straight, preventing alignment issues with the video panels.
3. Mount the Brackets
Mount the Brackets Securely: Use bolts or heavy-duty anchors to attach the brackets to the wall. Make sure the brackets are tight and secure since the entire weight of the video wall will rely on them.
Cable Management: Before mounting the panels, set up cable conduits or raceways for power, signal cables (HDMI, Ethernet), and control lines to ensure a clean, organized installation.
4. Install the LED Panels
Align the First Row: Start with the bottom row of panels. Make sure they are perfectly level, as this row will set the foundation for the entire installation. Use the quick-lock mechanism, if available, to snap each panel into place on the bracket.
Stack Additional Rows: Continue stacking panels row by row, securing each one to the bracket. Make sure all connections (power, data, and signal cables) are routed properly to avoid tangling or damage.
5. Test and Adjust
Power On and Align: Once all panels are installed, power on the video wall to check for misalignment or pixel gaps between panels. Adjust if necessary to ensure a seamless display.
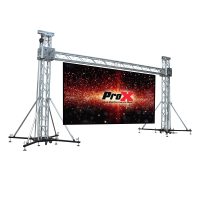
Building a Video Wall with a Ground Support System
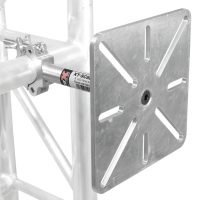
1. Select the Ground Support Structure
Modular Ground Support: Ground support systems use truss structures or steel frames. These systems are ideal for temporary installations, such as concerts or trade shows, where wall-mounting is impractical.
Stability and Weight Support: The truss or frame must be able to bear the weight of the panels. For instance, a 6m x 4m video wall can weigh over 500 kg, so choose a frame rated for this load.
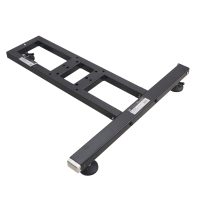
2. Set Up the Ground Support Frame
Level the Base: Ensure the floor is level and stable. Use adjustable feet or stabilizers on the ground support frame to prevent tilting or unevenness.
Assemble the Truss: Connect the truss segments or frame parts. Follow manufacturer instructions for assembling the ground support system, ensuring that it’s structurally sound.
3. Attach the Panels to the Frame
Mount the First Row on the Base: Start with the bottom row of panels, securing each one to the frame. Use the quick-locking system to lock the panels to the truss and to each other.
Build Vertically: Attach the next rows by stacking panels on top of the base row, securing each row with the locking mechanism. Ensure each panel is aligned correctly to avoid gaps between them.
Use Rigging if Necessary: For large installations, you may need rigging or additional stabilizing bars to distribute the weight evenly and prevent tipping.
4. Cable Management and Connections
Run Cables Through the Truss: Ensure all power, signal, and control cables are run neatly through the truss to avoid cable tangling. Use velcro ties or cable clamps to secure the cables along the frame.
Power and Data Redundancy: For larger setups, use redundant power supplies and dual signal inputs to ensure the wall continues functioning even if one source fails.
5. Testing and Calibration
Initial Power On: After mounting the panels and connecting the cables, power on the system to check for any issues such as pixel gaps or alignment problems.
Calibration: Use video wall calibration software to fine-tune the brightness and color levels across the panels, ensuring a uniform display.
conclusion
When learning how to set up a video wall, choosing the right pixel pitch, control systems, and hardware is essential for ensuring success. From rental LED video walls for events to fixed installations for control rooms, GTR Direct offers a range of solutions to suit different needs. Be sure to explore their indoor, outdoor, and rental video walls for your next project.
FAQs
What is the best video wall for outdoor events?
An outdoor video wall with 5000 nits brightness and an IP65 weatherproof rating ensures visibility and durability in any weather conditions.
How do I manage content remotely on a video wall?
Using a video wall controller with remote management features allows you to switch and schedule content from any location.
What is pixel pitch, and why is it important?
Pixel pitch refers to the distance between pixels on an LED panel. Smaller pitches like 1.5mm provide sharper images for close-up viewing, while larger pitches like 5mm are better for distant viewing.